
A Guide to Planning Your First Backpacking Trip
The steps to follow when planning your first backpacking trip.
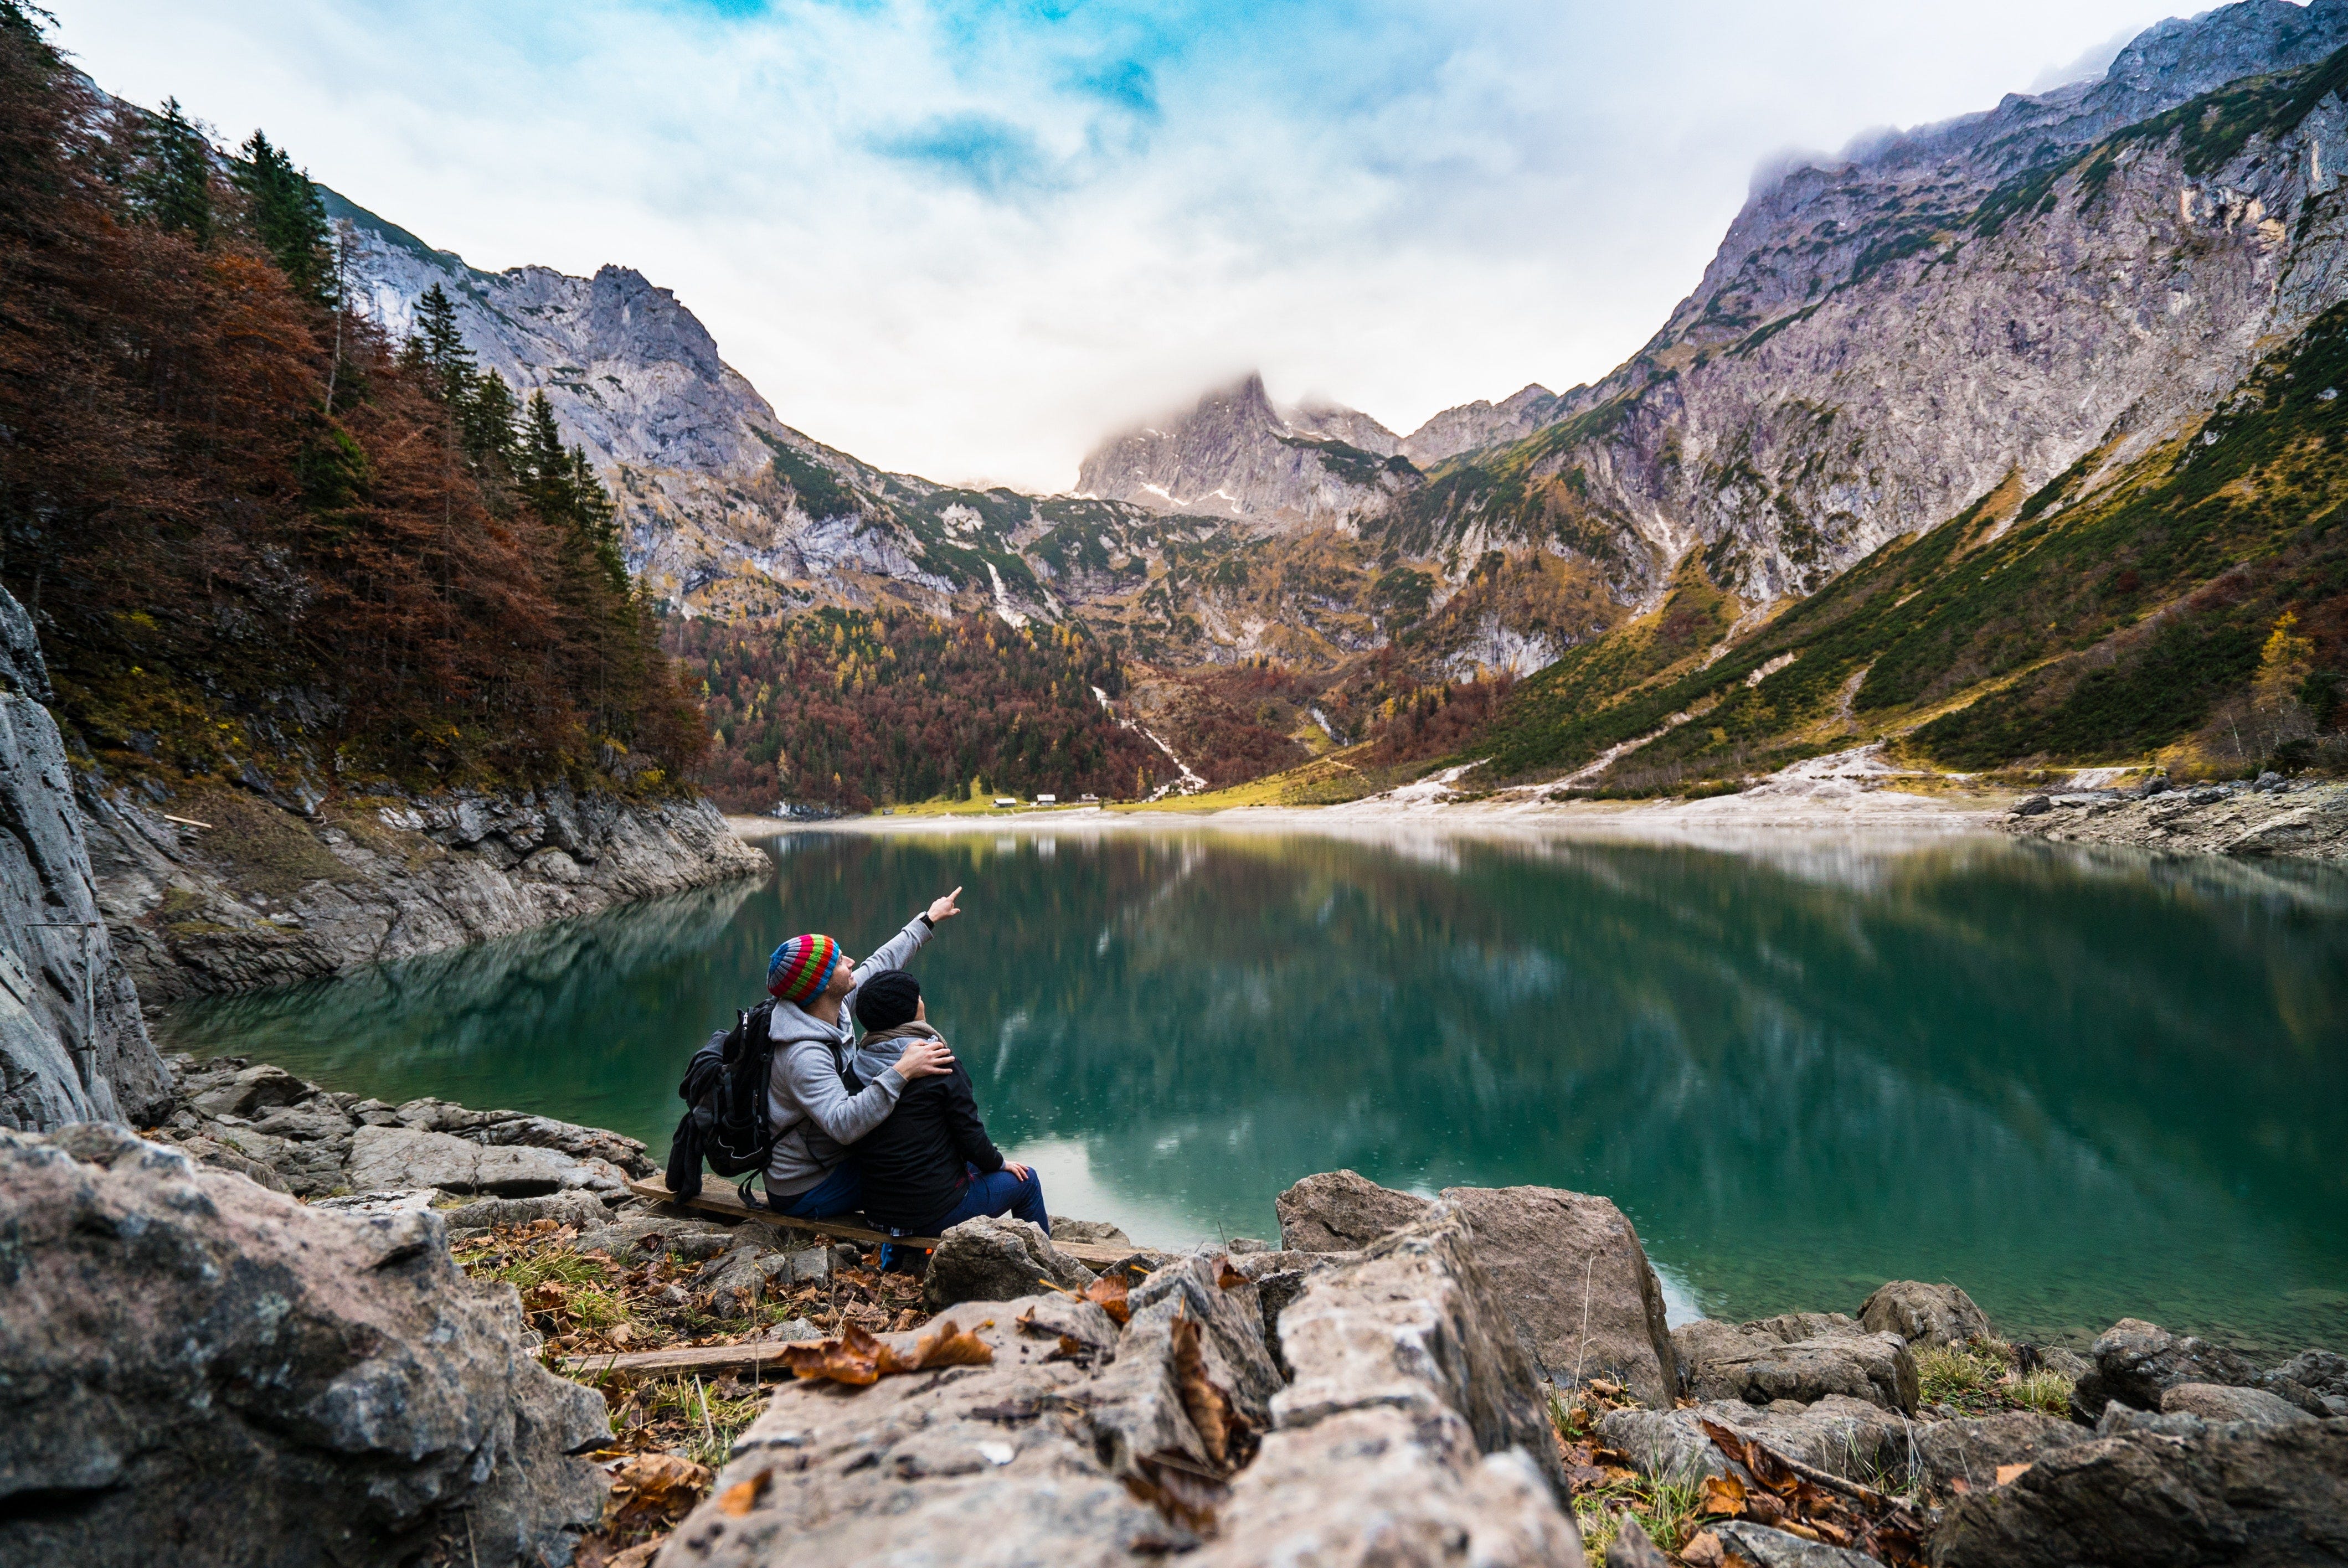
Backpacking is a way of exploring nature by hiking for multiple days and carrying all the essentials in a backpack.
On the first trip, I recommend going with experienced friends or a professional group. Going with experienced individuals allows us to backpack without worrying about the details.
Whether or not we go with more experienced friends, it’s helpful to know how to plan a trip to ensure we ask the best questions to our trip leader and can contribute to the group. This post lays out the steps to plan a first backpacking trip.
Step 1: Pick a Fun Trail
This post details what to look for in a great beginner backpacking trip; the tl;dr is pick something fun.
To understand if a trail has those essential attributes, I read trip reports. Trip reports are written accounts with pictures of what happened to an individual or group on a particular trip. They help us assess if the route looks feasible and fun.
When I read the reports, I note things like campsites, water, landmarks, trail variations, day hikes, confusing sections, gear recommendations, and advice. I also look at how much a group hiked each day and their itinerary to see if something similar could make sense for me.
To find trip reports, search for a trail on AllTrails, Google, and Youtube. AllTrails has the most recent reviews and the shortest, usually 1-5 sentences. To get 5-10 page trip reports, use Google with the keyword "trip report". Lastly, when I'm worried about a particular section of the trail, I often watch an individual do the hike on Youtube—usually at 3x speed.
After reading through trip reports and picking a trail, identify at least one trail of interest and an itinerary.
Step 2: Check Permits
It's tricky navigating the permit system in California, so make sure to plan for it. Figure out if the trail needs a permit and create a game plan if it does. Or, avoid the permit system altogether by picking a trail that doesn't require one.
Step 3: How to Get There and Home
Before we leave, we have to plan all the parts where we aren’t on the trail: how to get to the trailhead, any additional accommodations needed, and how to get home.
These non-trail elements of the trip can be tricky. For example, sometimes the parking lot is located far away from the trailhead, so before we leave, we need to have a plan on how to go from the parking lot to the trailhead. Additionally, it's common to lose cell service before entering a park, so before we leave, we have to download the directions offline.
It’s also useful to think about whether or not we want to start the trek the same day we arrive near the trailhead. Sometimes it may take a lot of energy to get there and we won’t have energy to hike many miles the same day. My rule is if the trail is over 4 hours away, I spend an extra night near the trailhead before I start. I’ve found that despite needing to have an extra night before, I always prefer going home directly on the way out. When I look for accommodations, I check my permit to see if there are campsites near the trailhead included.
If we are doing a thru-hike (i.e. we end in a different direction than we started), we have to plan how to get back. The following are usually the options available:
Bring 2 cars and park at the end and the start.
Park 1 car at the end and get a shuttle/bus or hitchhike to the beginning.
Shuttle/bus/hitchhike both ways.
One of the above is often the recommendation, read trip reports to figure out which one.
Step 4: Check the Conditions
We want to understand what we're up against on the trail and what to expect before we leave. Below I focus on detractors for a trip but also note down what sounds exciting.
To understand the conditions, I usually talk to a ranger and read recent trip reports and ones from previous years at the same time of year. For the recent trip reports, sites like AllTrails are helpful.
Closures
Check if anything is closed, like a road, trail, or campsite. Sometimes permits have this noted down.
Weather & Air Quality
I verify the weather and air quality before we leave (i.e., will there be smoke, rain, snow, flash floods, or unbearably hot temperatures?). I try to avoid places with a high likelihood of any of the above. Still, in California, some of the best hikes have temperamental conditions. In those cases, I monitor the weather the week leading up to the trip and verify again the day I leave. I use Purple Air, Air Now, and Windfinder for air quality. At the end of this post, I document how I look up the NOAA Forecast for the weather.
Nature
Common things to look out for are mosquitos, ticks, poison oak and bears. And in each case, we need to bring the necessary equipment and do research to minimize our encounters.
Water
Check if there is potable water and, if not, what type of filter is needed. Sometimes there will be extreme water situations like it won't be possible to submerge our head underwater, so it’s important to learn about the water before we leave.
Park Mandates
Lastly, verify if there are any park mandates that require additional gear or planning. For example, we might need to pack out our poop or bring a bear canister.
Step 5: Pack Light and Test Gear
The most important rule of packing is pack light. There are caveats to this, but packing light really helps me enjoy nature and ensures backpacking isn’t too challenging. This post details what to pack and consider when packing.
For any speciality equipment, I'd practice using it. For example, it's a water filter, then filter some tap water or stream water on a local hike. I try getting new gear at least a month before I leave so that I can test it out and replace it with something else if it doesn't work.
Step 6: Final Checks the Day Before Leaving
Before I leave, I run through my itinerary and make sure I have all the essentials covered for each day. I then check the conditions using Step 4.
If it has been a while since I've been out, I'll refresh Leave No Trace.
Lastly, I'll tell a friend or family member my trip plan. Usually, this involves emailing them a document and a panic date (when they should start panicking if they haven't heard from me). In addition, I write my name, phone number, emergency contact, my rough plan, and when I plan to come back on a piece of paper. And then, I leave that note in my dashboard for anyone to read.