Cloudripper via West Chute Loop
I found this YouTube video a year earlier documenting someone’s trip and, after watching, I immediately started planning my trip. I’m a sucker for alpine loops with a touch of off-trail exploration.
The loop takes one day and even passes through a parking lot, making it backpack-free. However, to acclimatize and tackle the most challenging section first on the following day, we decided to camp at Chocolate lakes.
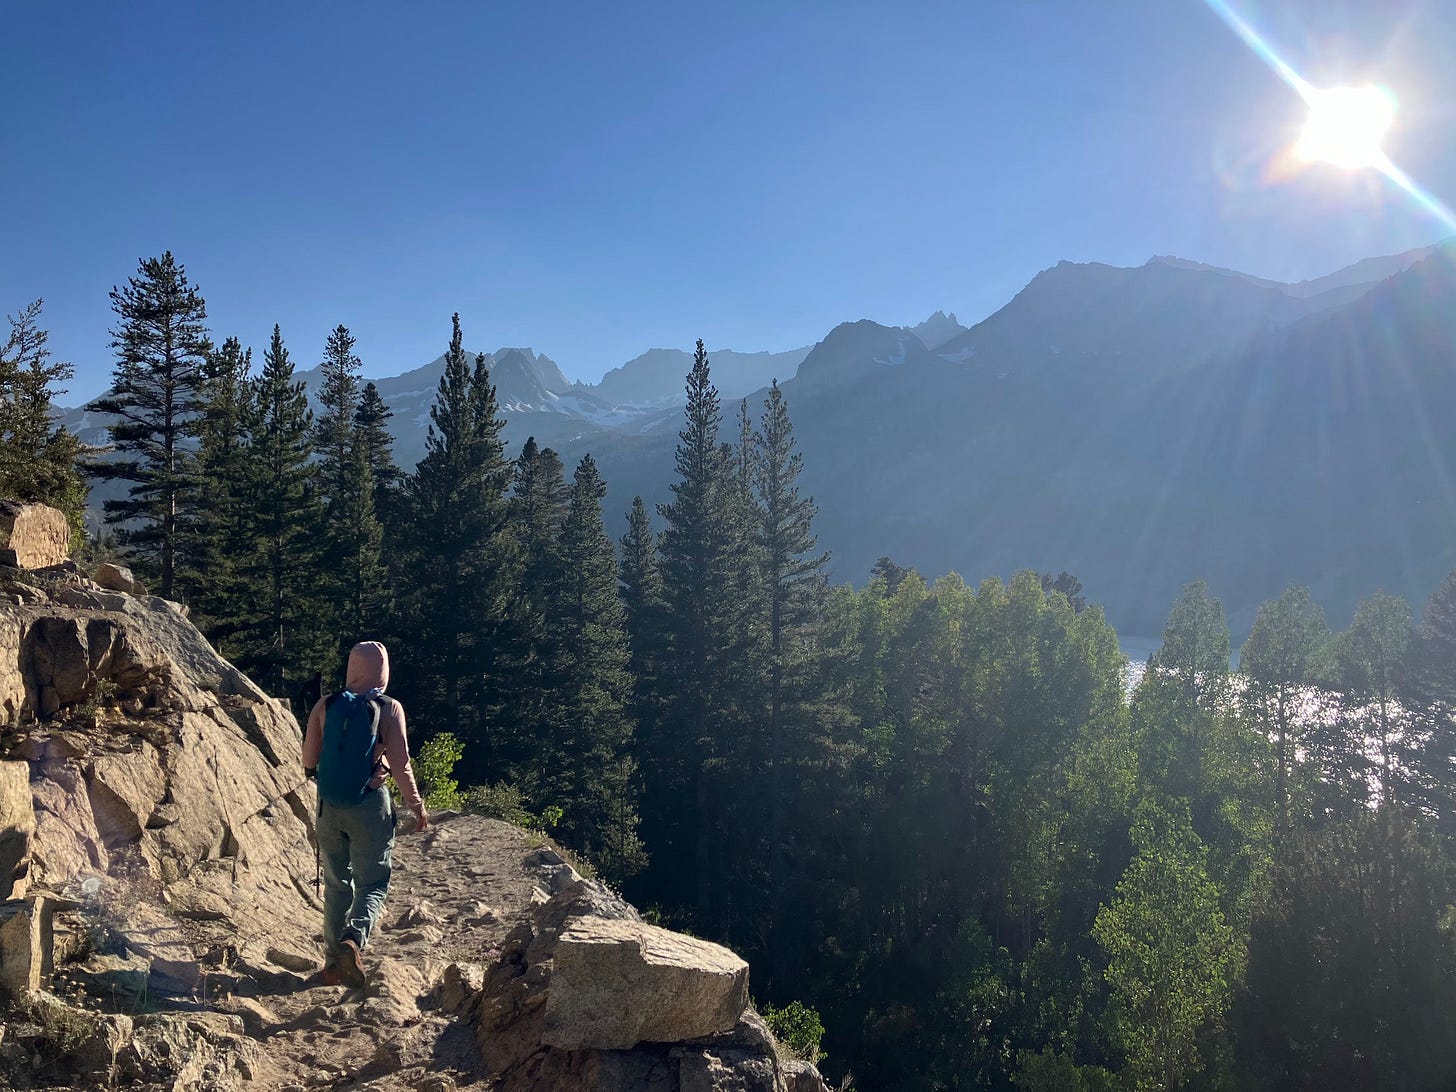
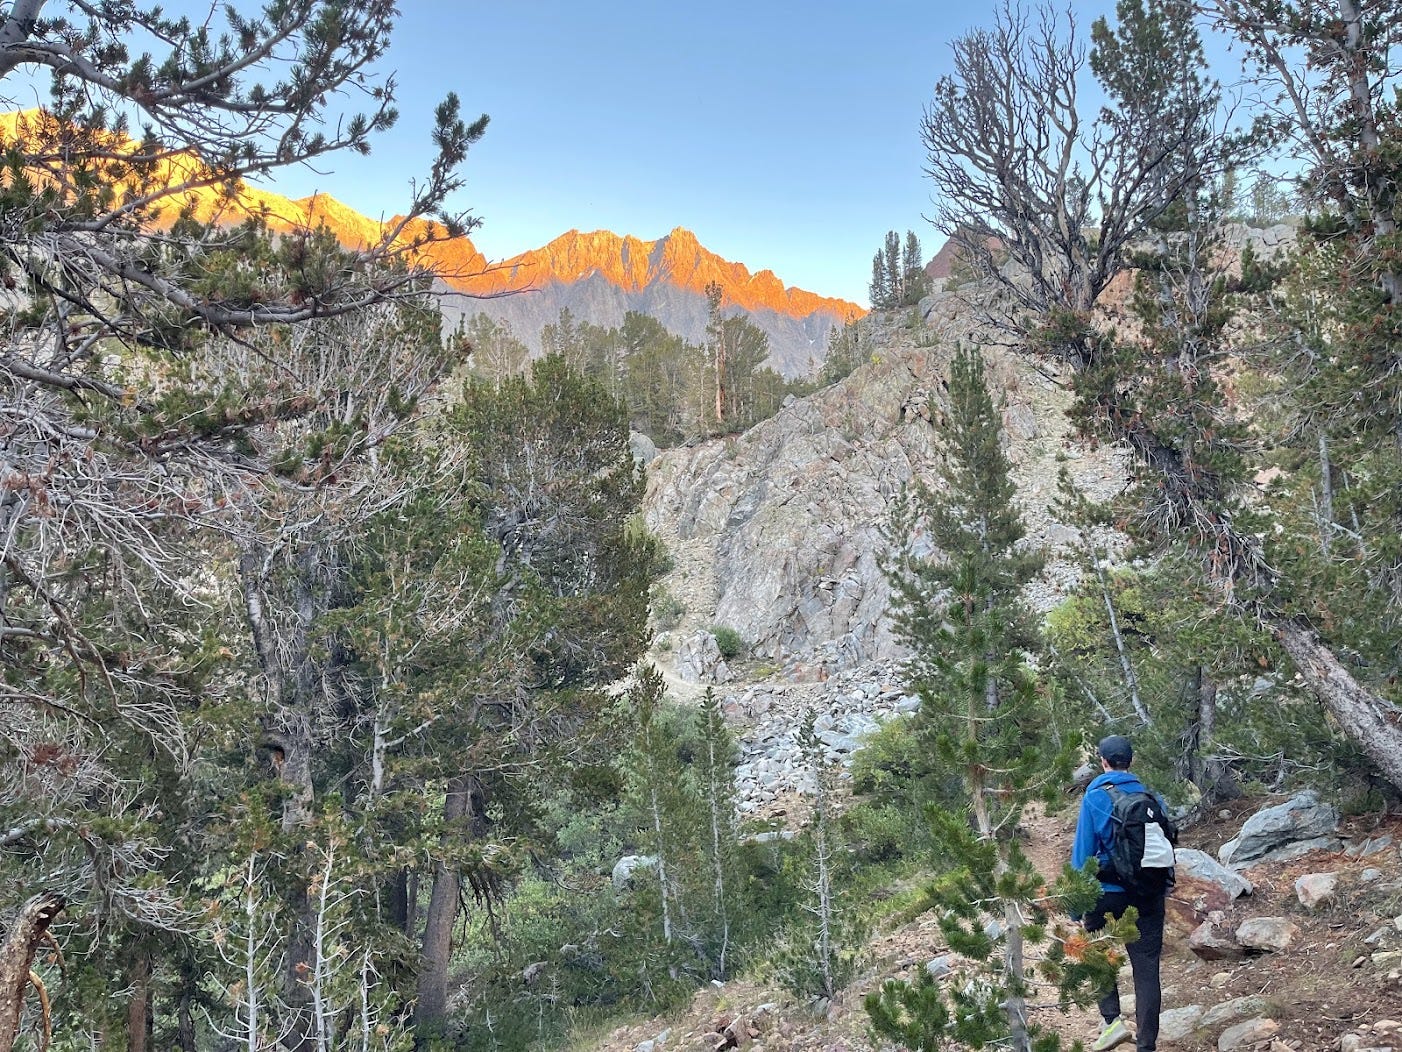
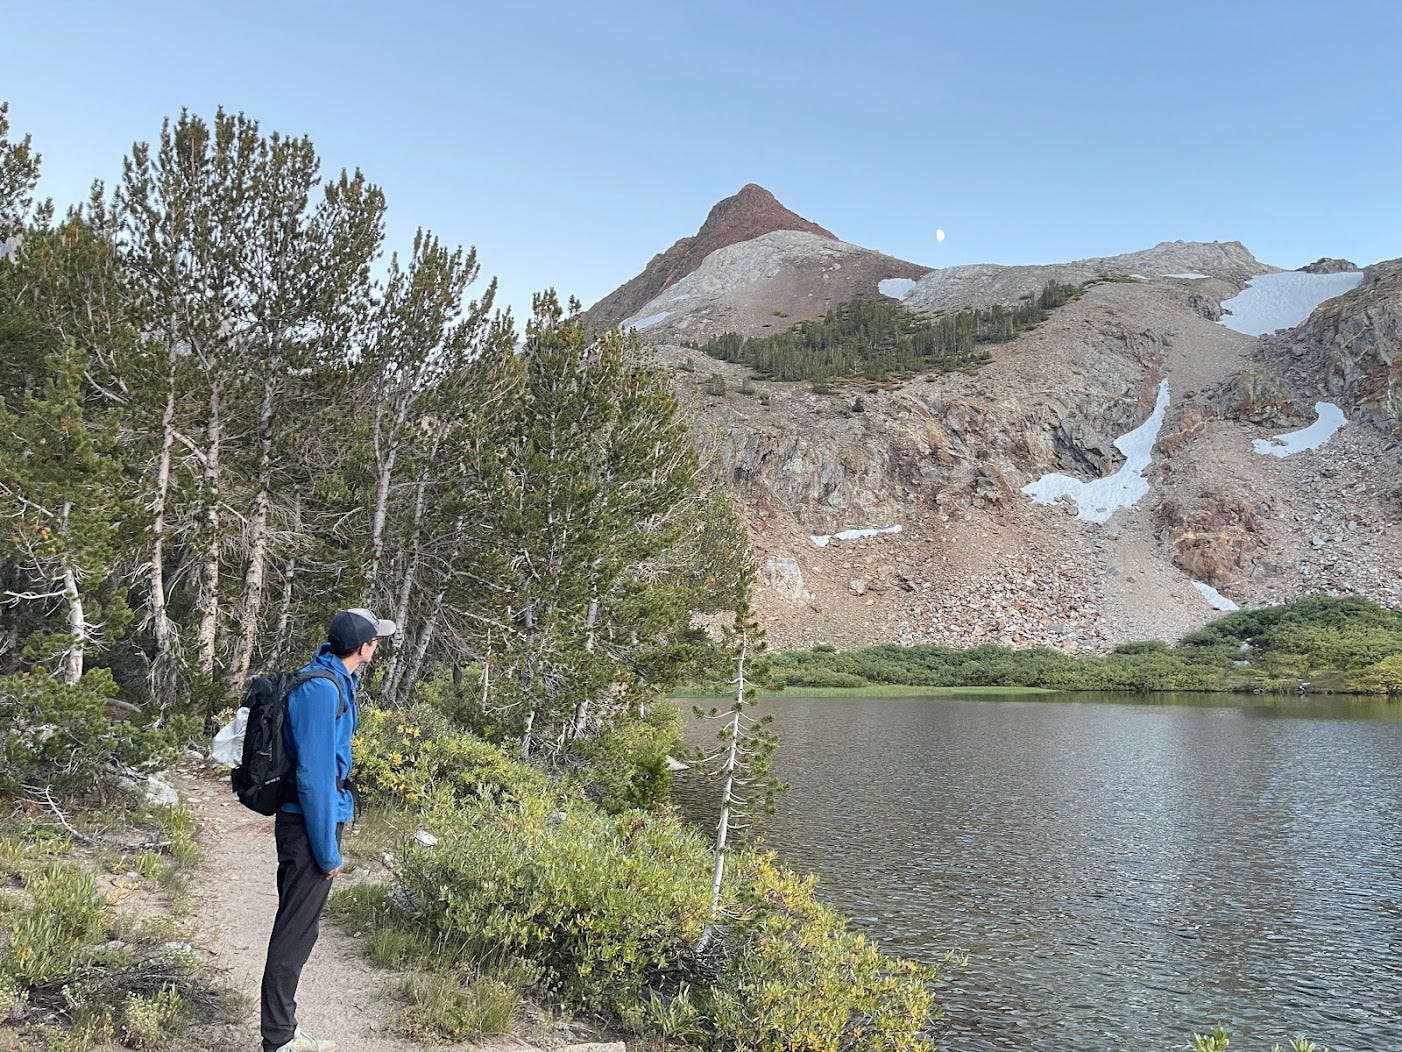
As a retired Candy Land champion, I expected to pass through the Peppermint forest and cross the Ice Cream sea. However, instead, we met a dog named Hatchet, appearing to be named after his bite. We also got our first glance at Cloudripper which like the dog’s teeth, was sharp and not particularly friendly.
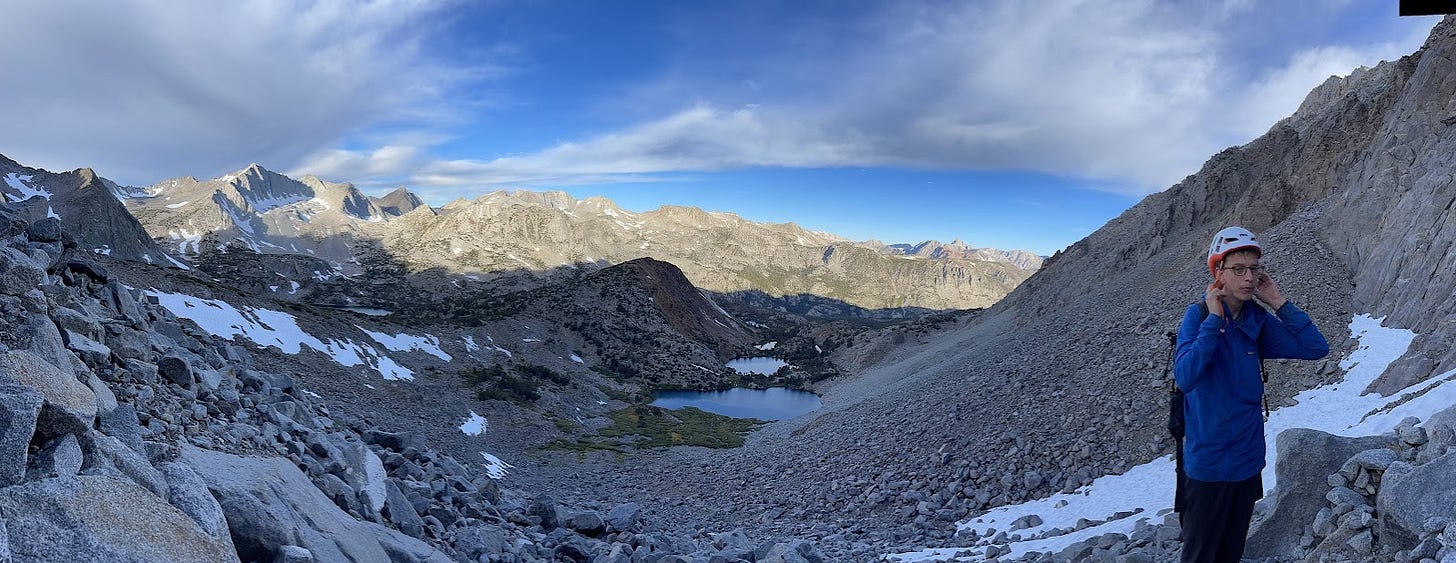
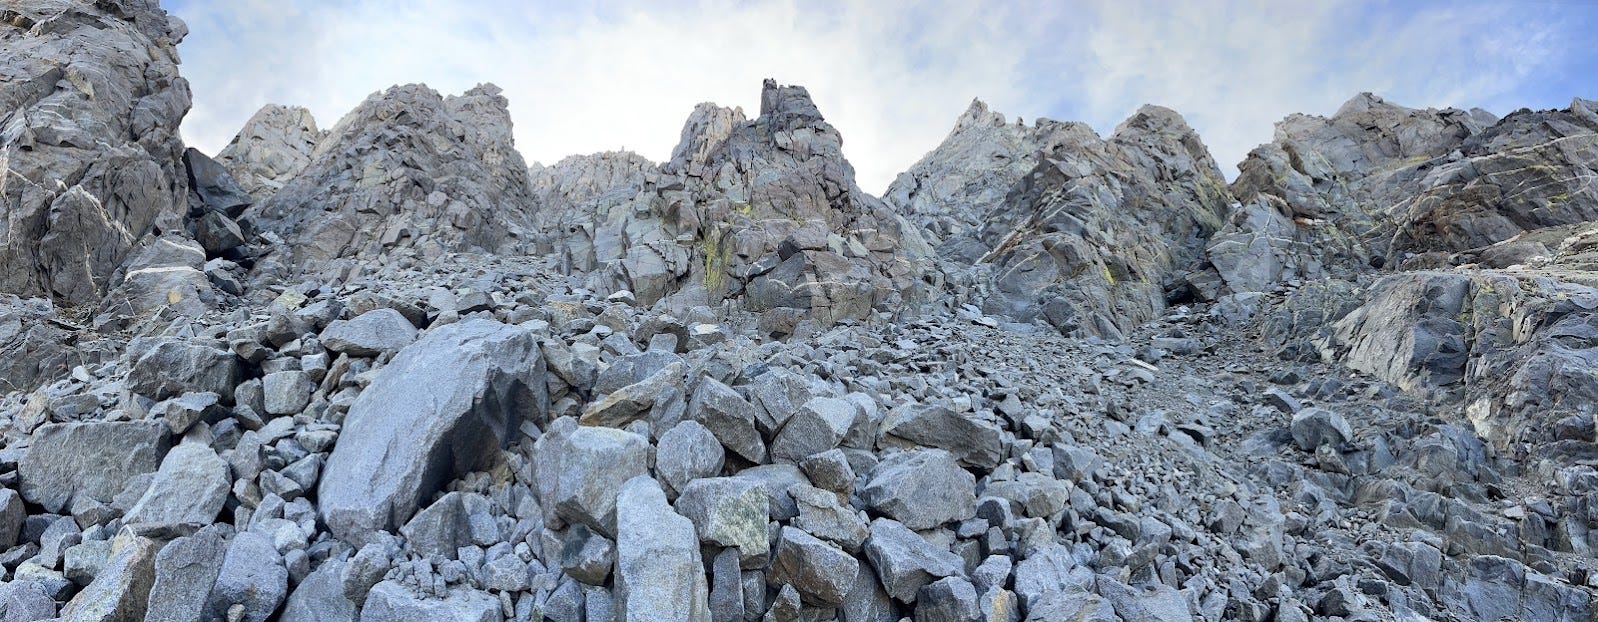
Saturday morning at ~6:45am, we left camp. The first part is slogging up a very loose boulder field. To give you an idea, when ascending a boulder field on a well-trodden trail, any loose rocks would have already been kicked down by previous hikers. However, in this case, the trail wasn't well-traveled. So, many times, I'd step onto a rock, causing it to dislodge and collide with my other foot. This required me to constantly need to regain balance and deal with a sore ankle.
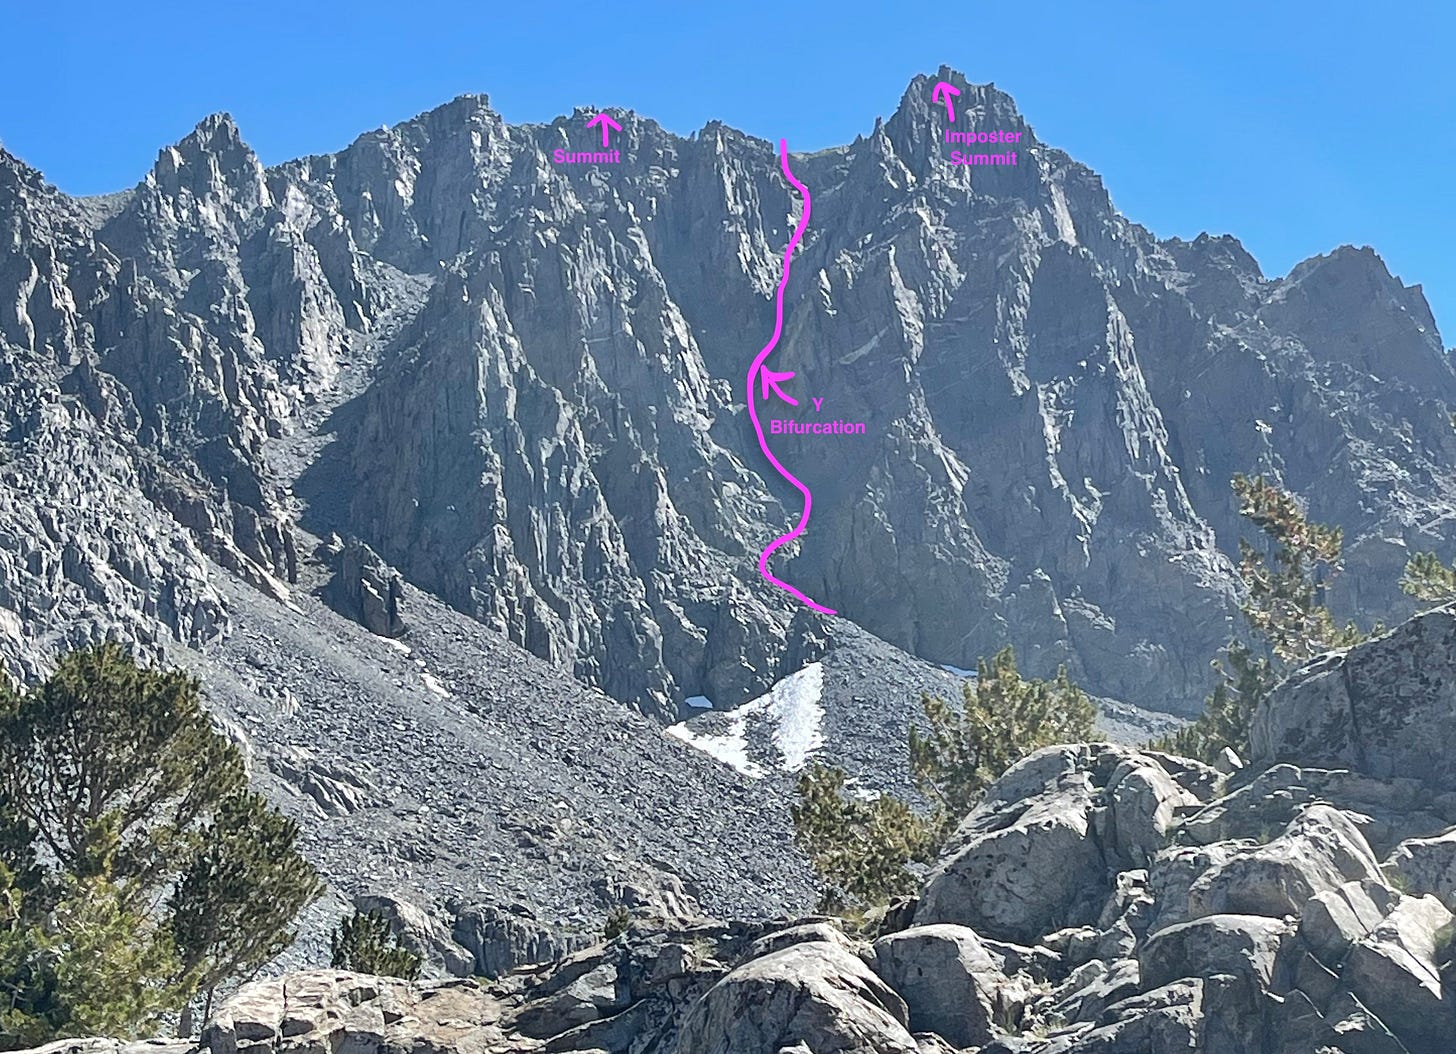
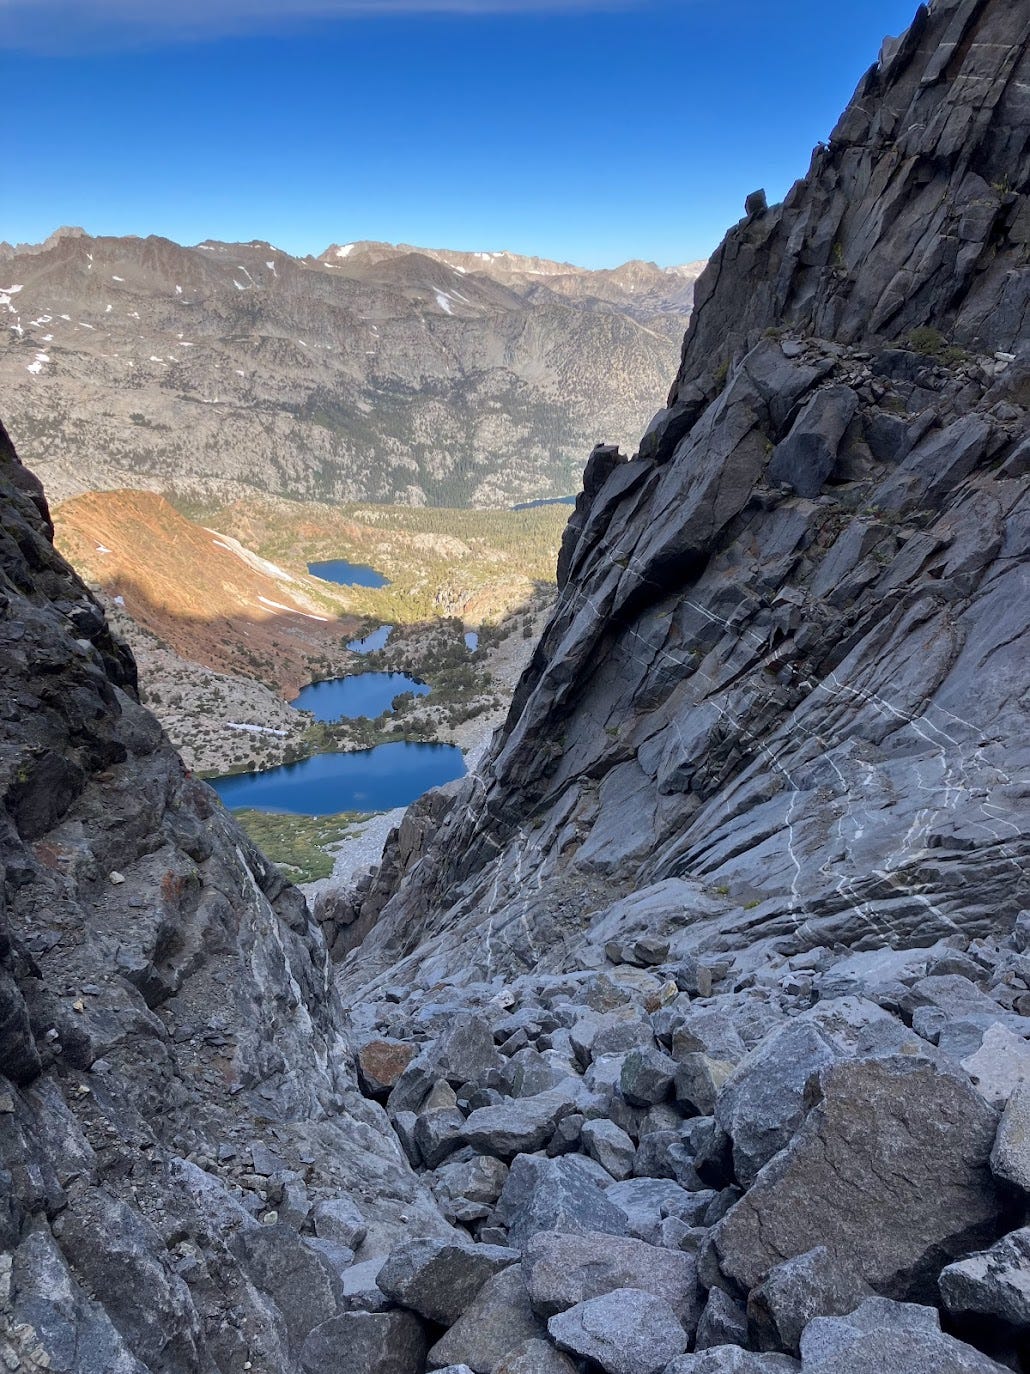
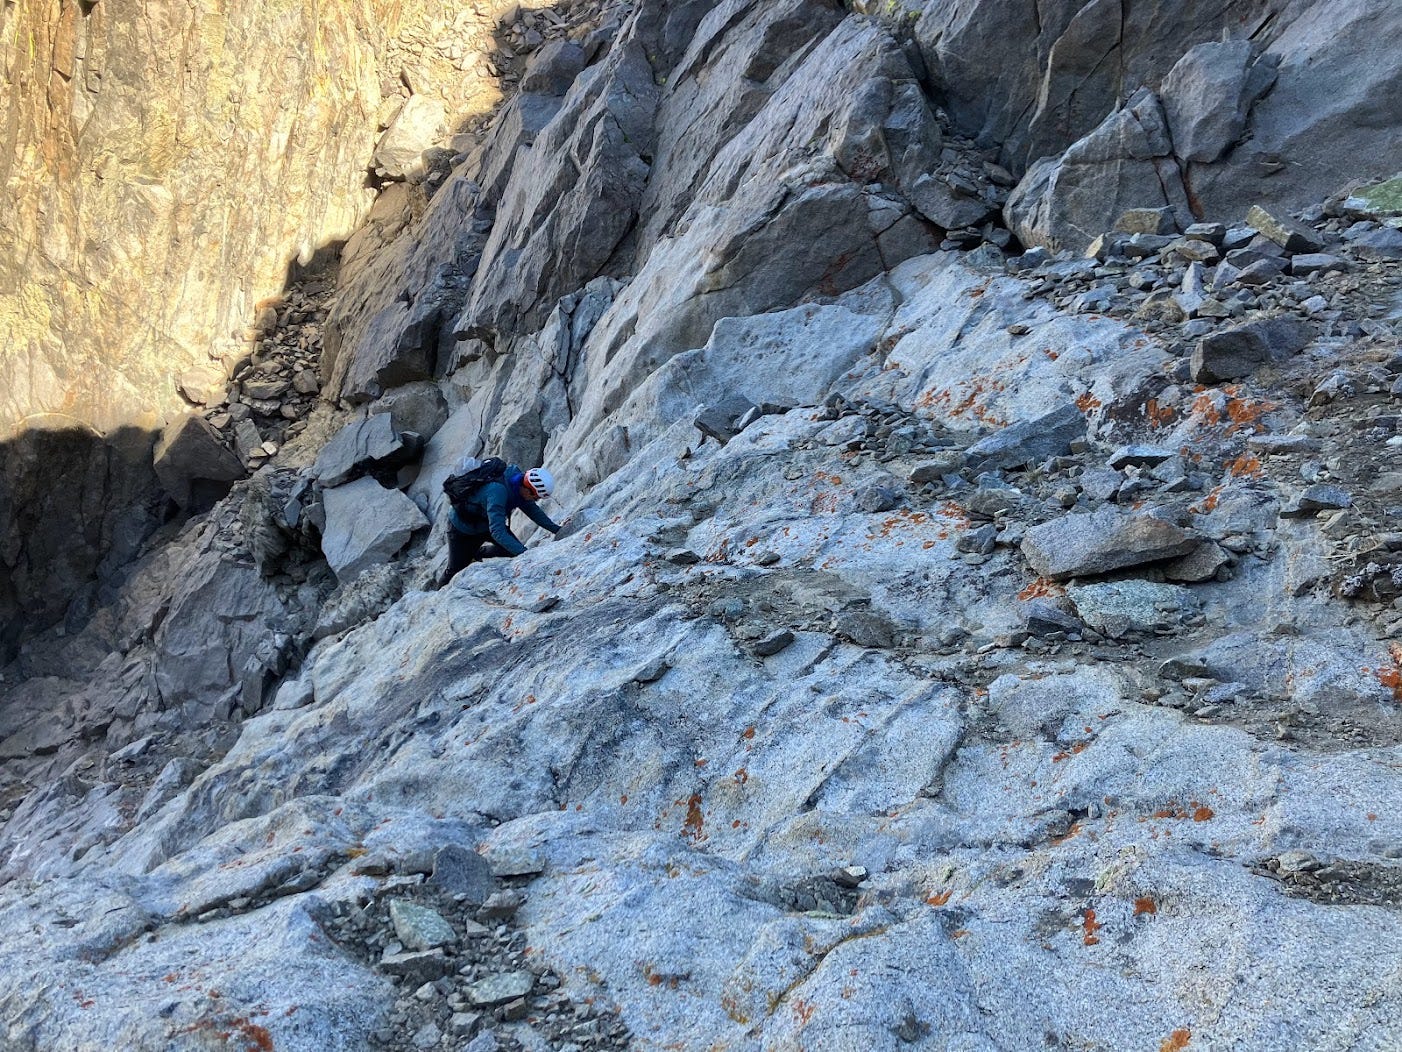
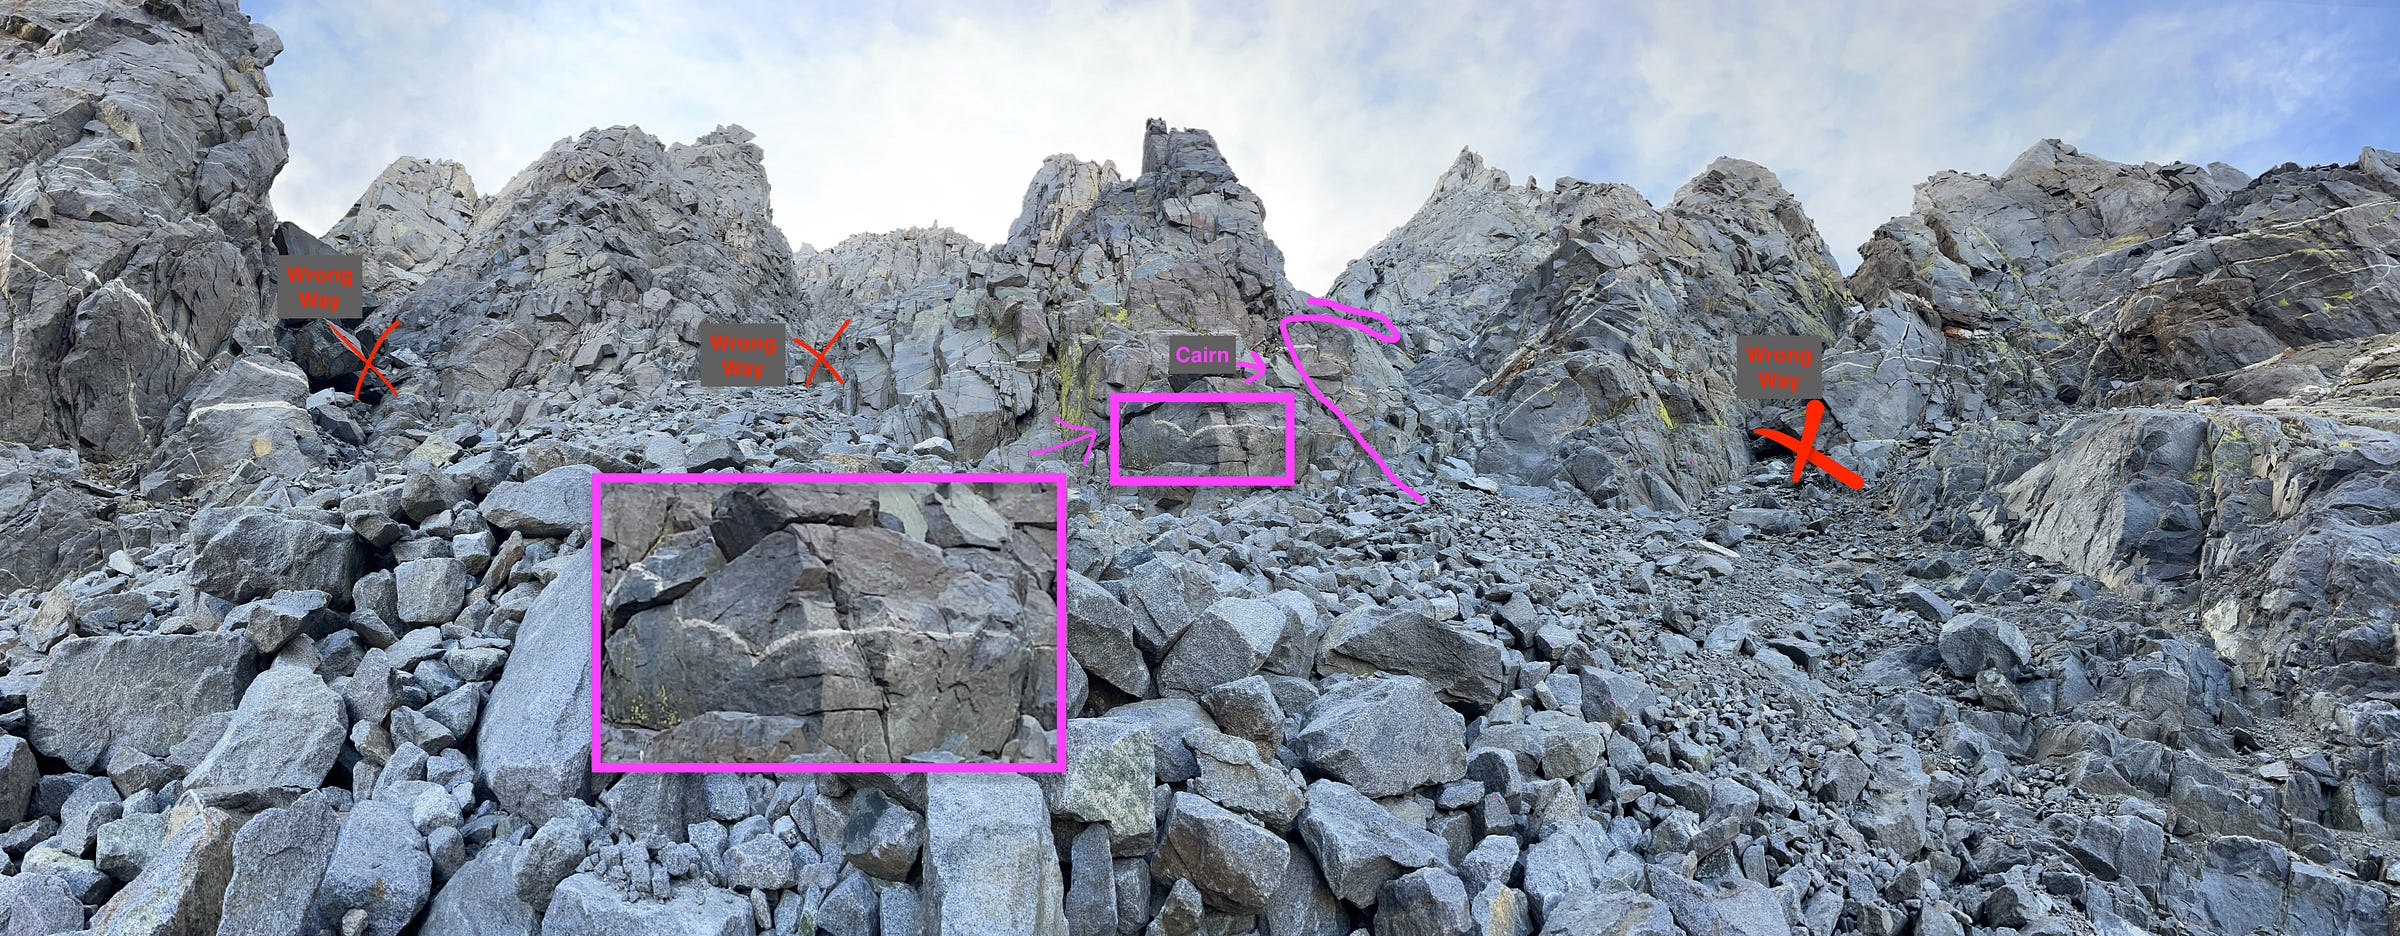
Eventually we got to the start of the chute where the route has less loose rock. At about 500 feet up, we encountered a Y-shaped fork in the trail. I had previously read the beta (advice) on this section but when we arrived, the trail we thought we should take was covered in snow and didn’t look passable. The other trail that was a contender looked like it would take class 4 or 5 (hard) moves to get into it.
The three of us found ourselves standing there, re-reading the trail advice and comparing it to images from previous trips to make sense of the situation. Then, one of us spotted a cairn, which indicated how to go up the contender trail. But, even after finding the cairn and knowing we were on route, we struggled through this section and later would realize it was the crux (the hardest part) of the climb.
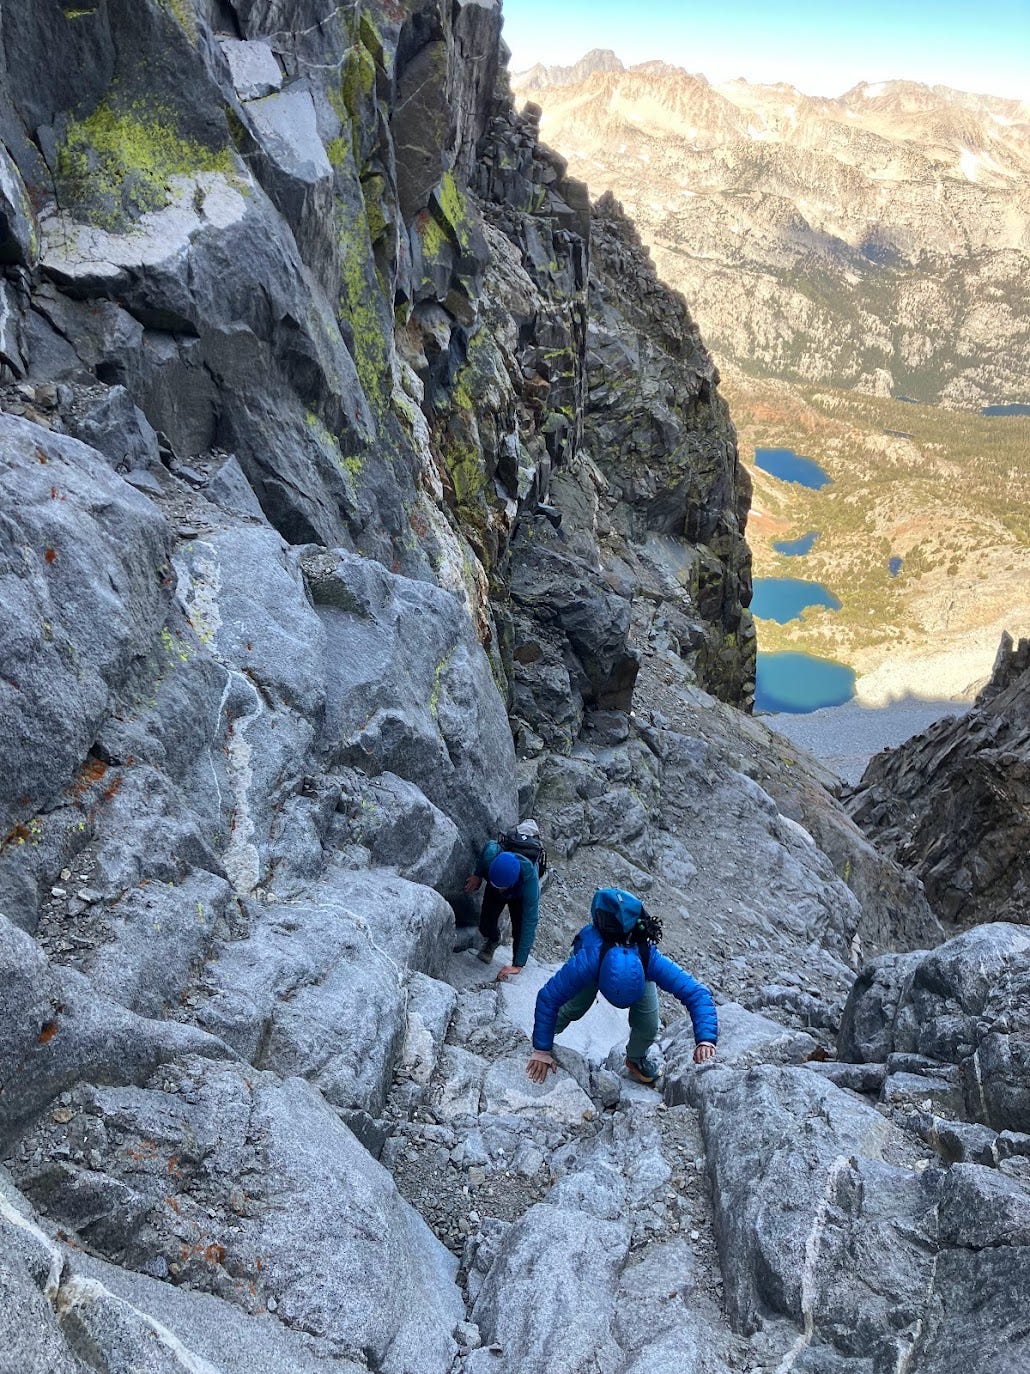
To get to the top of this chute, the key was to consistently pick the easiest way to get up (since what looks doable but slightly harder tends to actually be very hard) and reference previously successful GPX routes with our current course.
Also, the chute was exceptionally cold. Our slow progress, the continuous shade along the route, and the need to touch freezing rock all contributed to the chill. The constant worry of cliffing out also didn't exactly warm our thoughts.
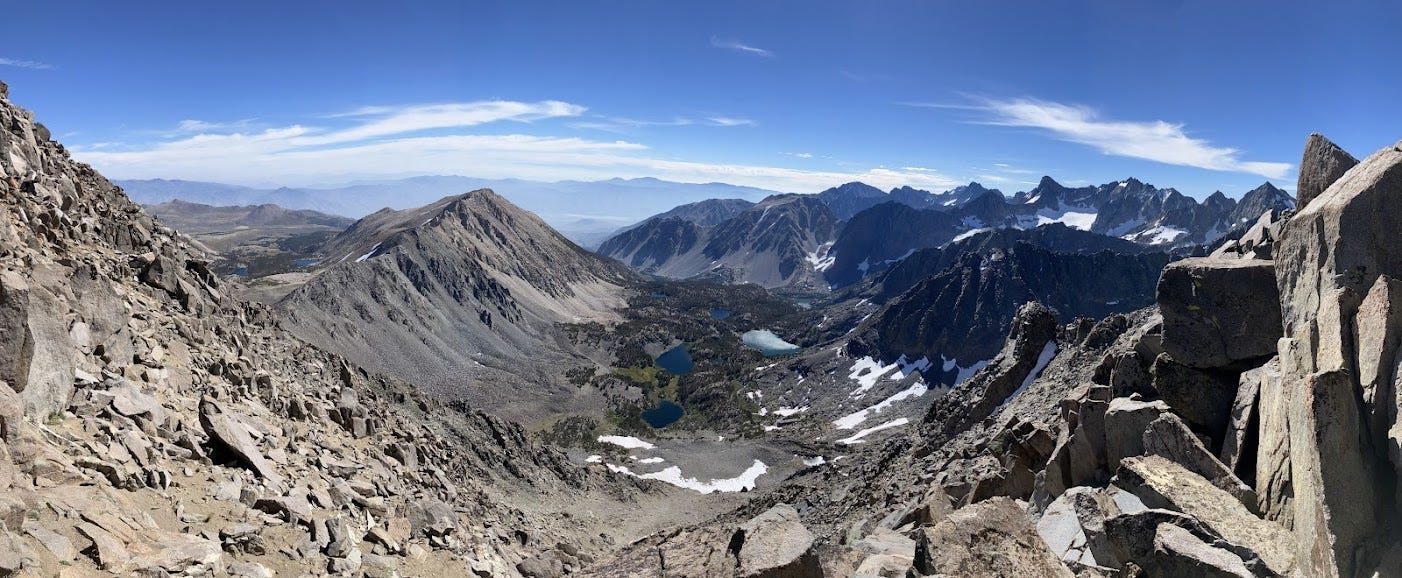
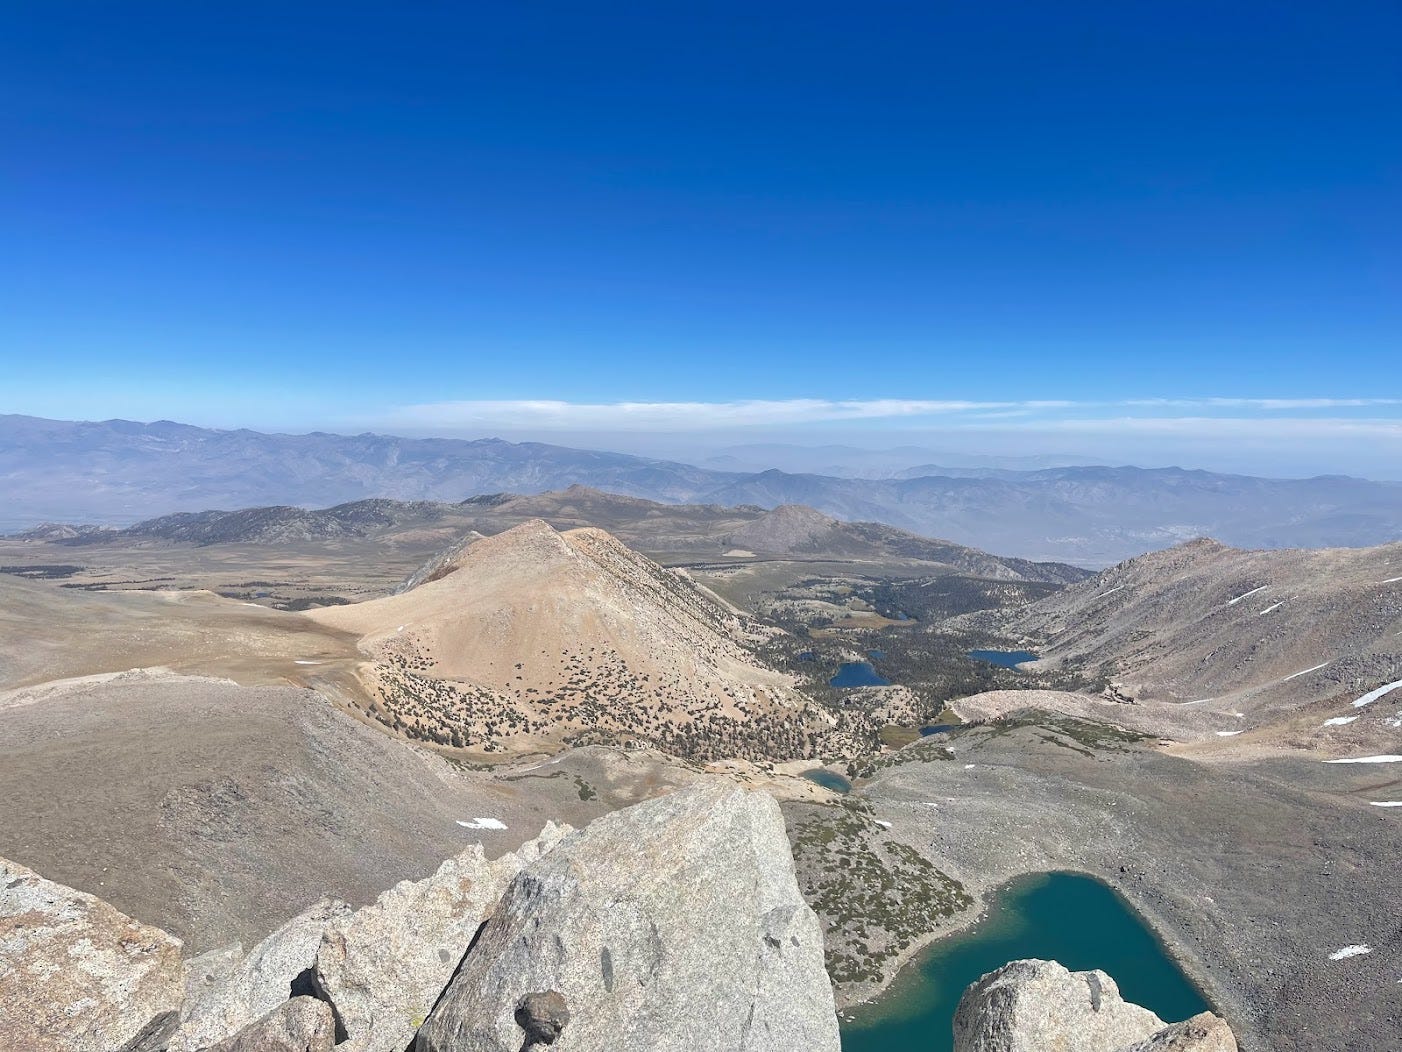
The last part of the chute is a large boulder field. As I stepped onto the ridge line, I had the view of a whole new lake system and the sun had finally found us.
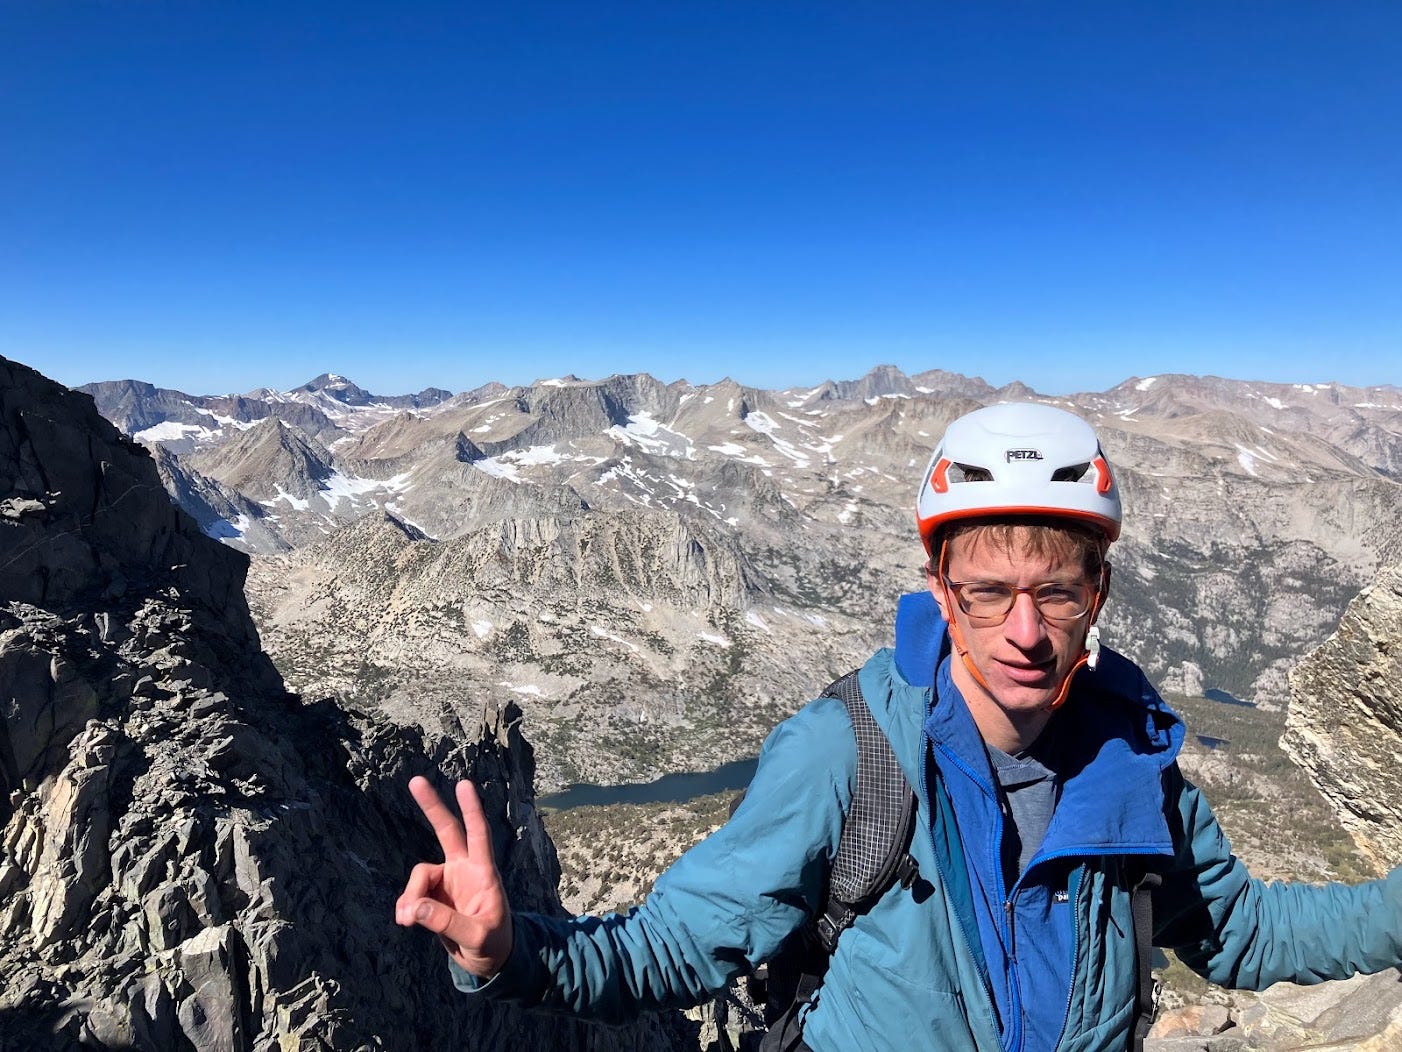
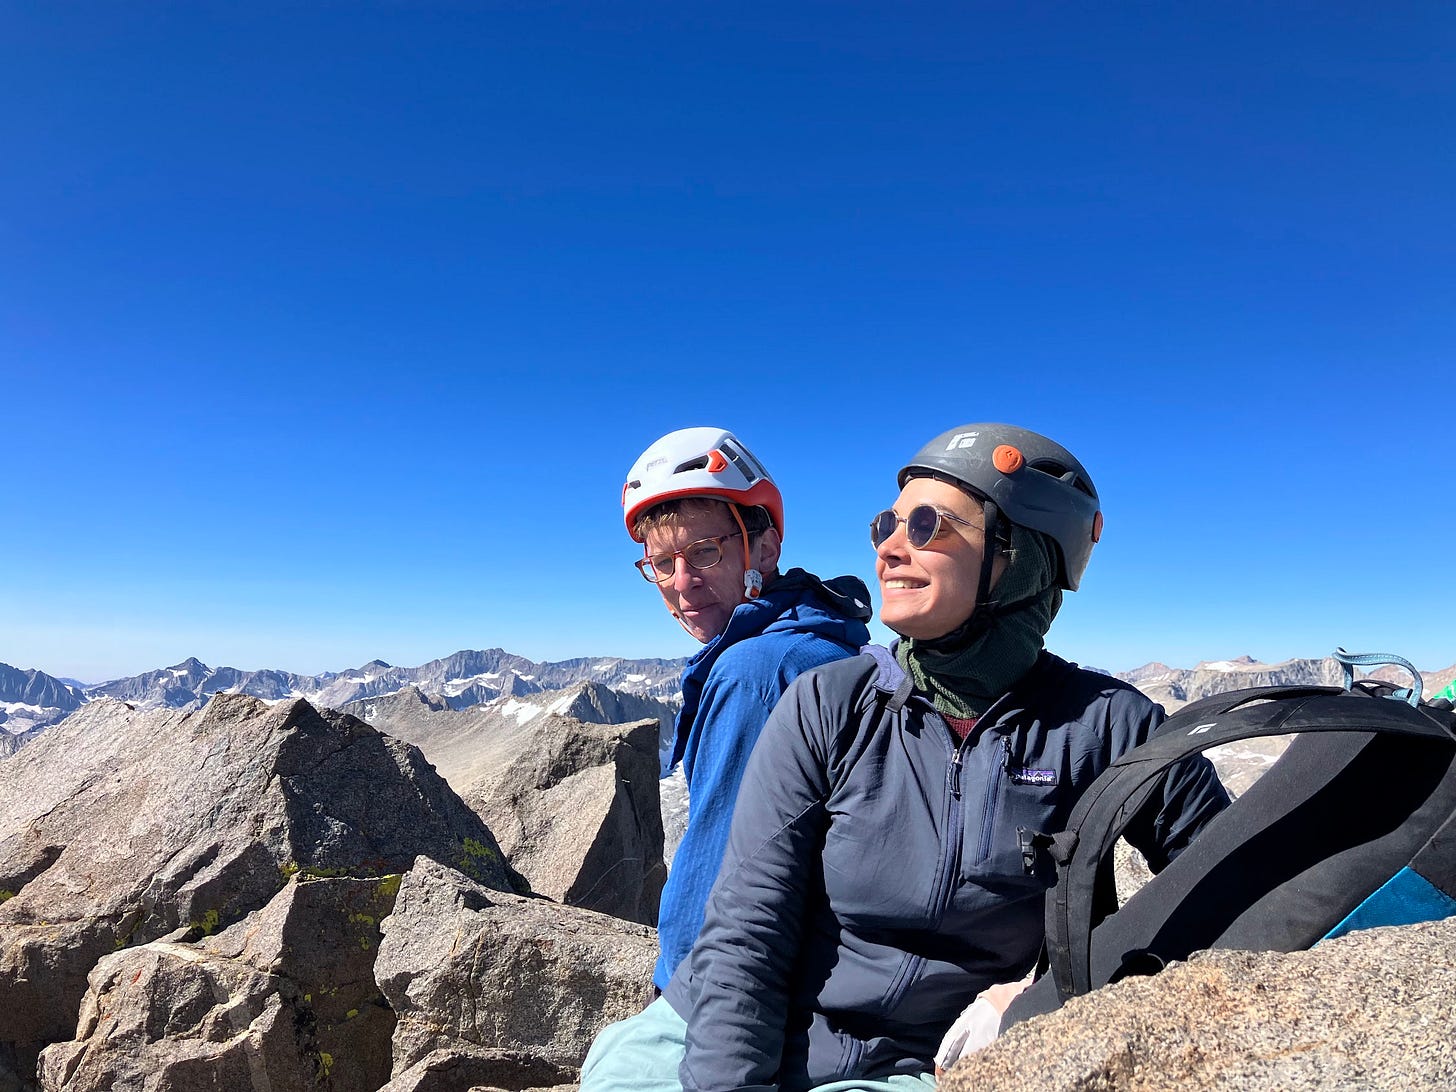
We summited soon after but were also only ~1.5 miles into our ~12 mile hike so we didn’t stop for long. We hugged the ridge line on the way down and then started to descend to the dip before Vagabond peak.
On the descent, we encountered a 20-foot sloped section covered in ice. Lacking ice axes or crampons, we improvised a self-sledding technique: we slid down, caught ourselves on the lip of the suncup, , hopped over it, and repeated the process.
After lunch, Vagabond Peak and another ridgeline, we hit a trail. We were pumped, as trails are not only easier to hike on but also relieve us from the need for route finding, allowing us to relax our mental navigation.
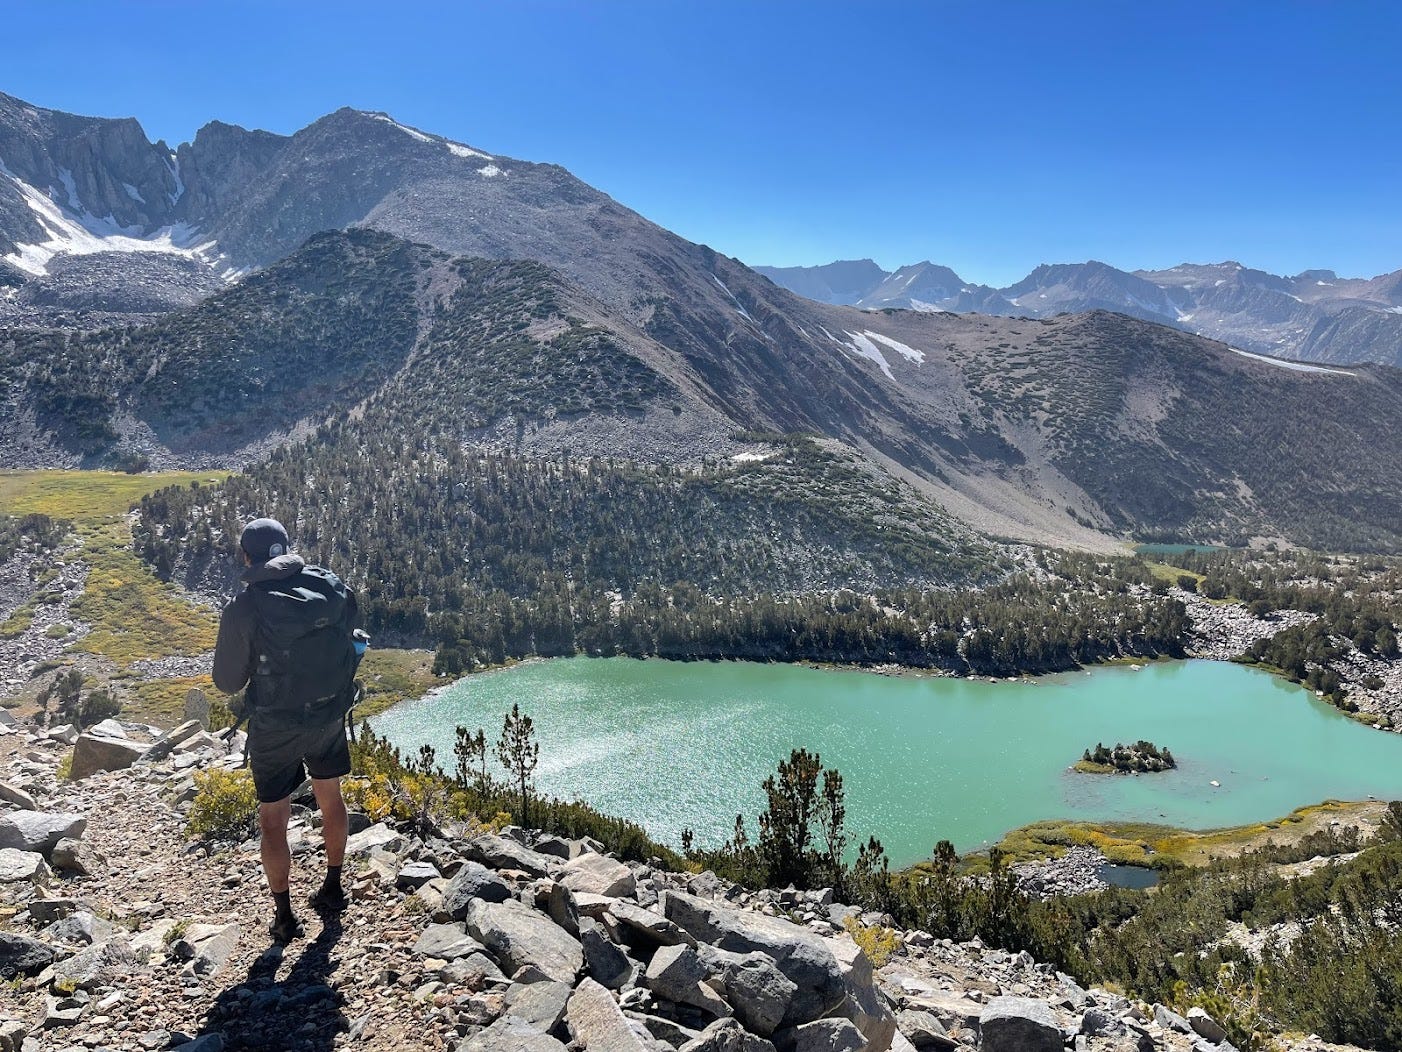
The trail starts at no-plant-in-500-years-has-grown-here to an oasis called Green lake where we took a dip and then were dined on by mosquitos.
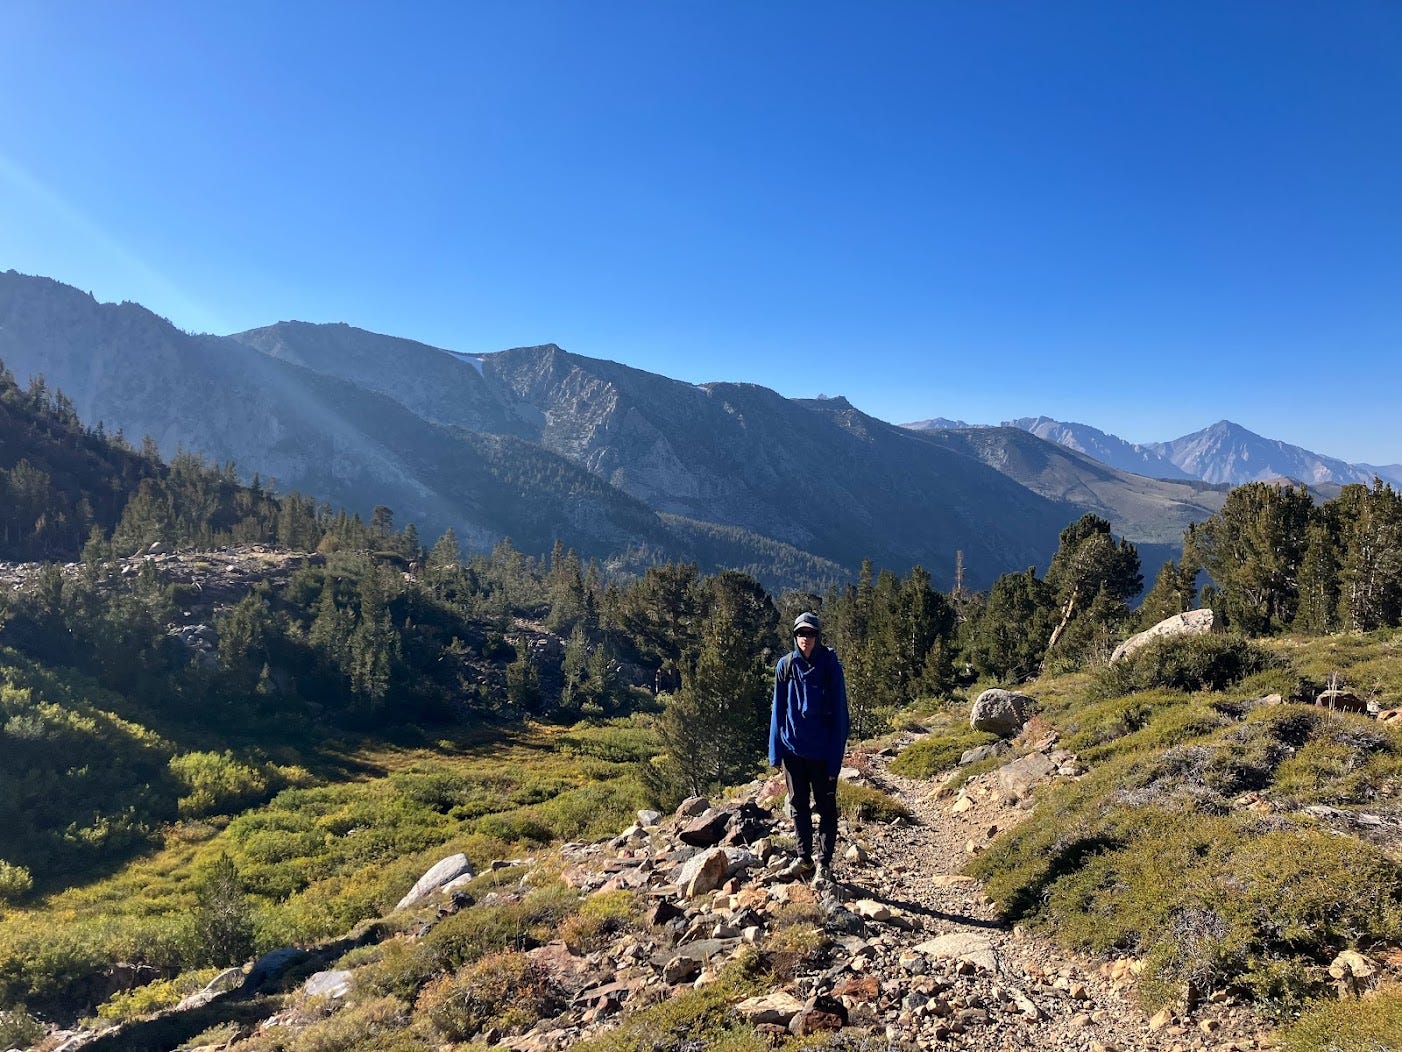
From there, it’s an easy couple miles back down to the car where we knew there was dry underwear, Oreos and wine. We also knew there wasn’t a wine opener and so as we walked we plotted ways to open a bottle. After scheming and politely asking around, the wine opener was a no-go and we had to settle for Oreos (note: one of us did buy a wine opener for their car after the trip).
As we made our way back to camp, we enjoyed the sunset over Cloudripper and watched the moon rise over Chocolate Mountain.
Trip Planning
Resources:
https://caltopo.com/m/4PP28 - GPX of our route
Before you leave:
Check the weather
https://www.mountain-forecast.com/peaks/Mount-Agassiz/forecasts/4235 (closest mountain)
Check the air quality
Check water crossings
Check out rock quality for loop
If you want an overnight backpack, get the “Big Pine Creek South Fork” permit here. This is a very popular permit.
Beta:
Before leaving, I downloaded all the GPX routes I could find online, saved to my phone trip reports that I found particularly helpful (here & here), downloaded pictures from key parts of the climb (example: this), and asked friends if they had information.
Route & Entrance on Cloudripper
Y Bifurcation
After you enter the chute, in ~500 ft, the Y bifurcation comes up pictured below.
To identify I was there, I looked for the distinct white V on the rock (in the pink square above). In many trip reports they say, take the “right fork” but when I was there - I saw 4 different possible forks and there correct one is the second from right marked with a pink line.
To find the route up, look for a cairn where I marked on the above photo. We ended up going up the rock with the white V on it and then going right to get to the correct fork. The pink line indicates our rough route.
Rest of West Chute
As we went up, there were other splits and we just stayed left. I think the biggest thing to do is (1) choose what looks like the easiest path and (2) constantly reference the gpx to see if you’re on route.
At the very end, go left to get up to the ridge line (right is a false summit). Once you hit the ridge line, continue left till you hit the summit.




Very informative post. I wonder would you mind sharing the date of your trip (to gauge the snow condition along the trail)?